Show Your Stuff!
|
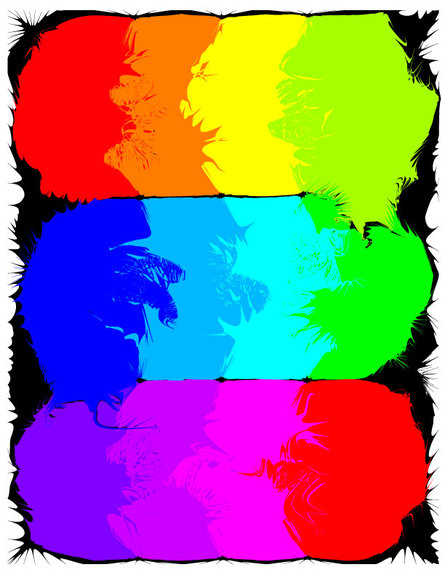
This design is from a project named "Show Your Stuff". We were asked to create a document that incorporated elements we have learned so far in this class. I have used the pucker, scallop, crystallize, and bloat tools in this design. I copied each circle from the first one, and lined them up together in three rows of four. I added a black background and scalloped every space available.
|
Glitch Mob Desktop Wallpaper
|
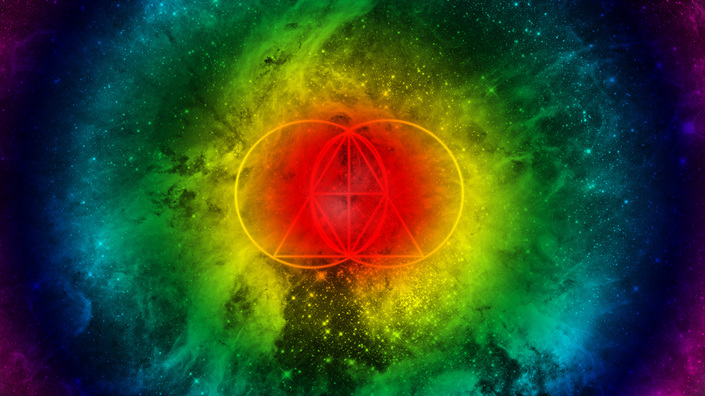
In this assignment, the class was chosen to create/remake a desktop wallpaper design for a band with the name the "Glitch Mob". We traced the logo in illustrator, and then we picked an image with a resolution of 1920 x 1080 or higher. We then opened the design that was traced and the background we picked in Illustrator, and we centered the design. Mr. Means also had us add some effects to the design such as using the diamond tool, masks, inner and outer glow, and expanding the area that the glow from the design was "leaking" to.
|
Clipping/Layer Mask 1
|
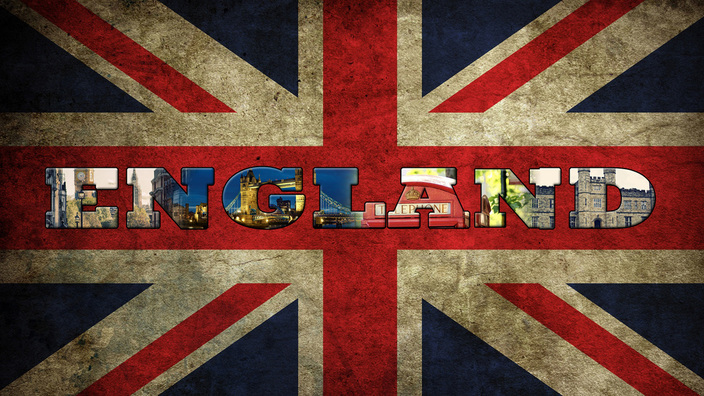
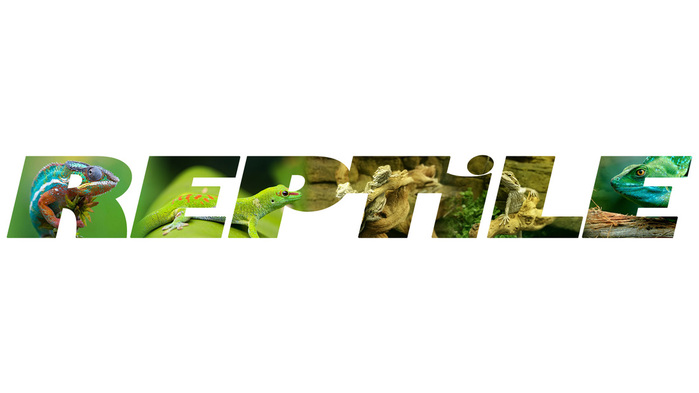
For this design, we were asked to pick a country and pick 3 or more images from said country. My favorite country is England, and I found four pictures I wanted to use for the assignment. I chose this country because I love the old buildings, the accents of people who live there, the overall style of the country, (such as the flag, buses, telephone booths, "royal" looks), and because it has a lot of famous landmarks.
I learned how to create clipping masks (when you fit an image into text), how to blend photos into one another using the gradient tool in Photoshop, how to use layers, how to apply effects to text (i.e. embossing, shadowing, etc.), and that high resolution images are much better than lower resolution images. |
Clipping/Layer Mask 2
|
My work has slightly improved upon my previous work because I now remember all the things that we have learned and I was able to explore more of the things that were available to me during this assignment.
|
Live Trace/Live Paint v1
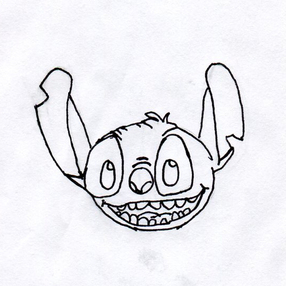
Scanned Drawing
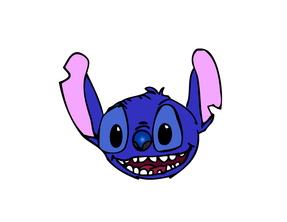
Finished Product
|
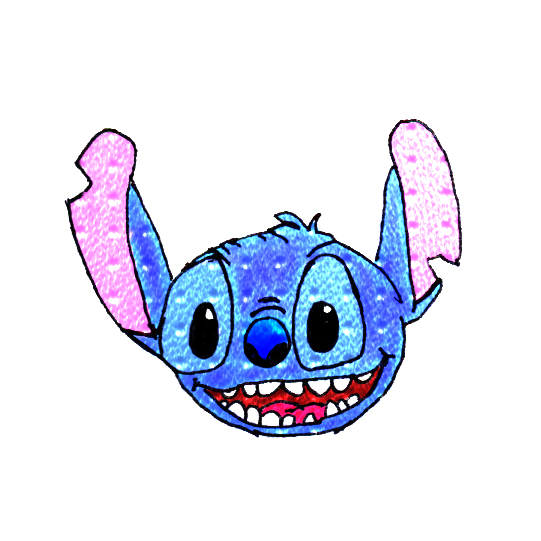
The character I chose to draw for this assignment was Stitch, from my all-time favorite show Lilo and Sitch. He is a blue alien from another planet that befriends a girl named Lilo.
The image on the top is a drawing I drew by hand and scanned into the computer. The image on the bottom is that same drawing, but I edited it in Adobe Illustrator and applied a live trace and live paint option. I also used the gradient tool for the tip of his nose. |
Photography, Round 1:
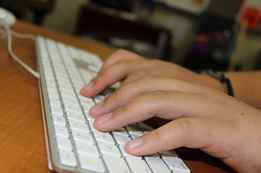
Before

After
|
handsThe edited version of this photograph improves it by making imperfections disappear. In Camera RAW, I used different brushes with various settings to go over the hand and smooth any wrinkles, cracks, or other imperfections that it had. I also checked the "convert to grayscale" option in the HSL/Grayscale menu. I then proceeded to experiment with different levels of exposure, contrast, sharpness, fill light, brightness, etc. I also used a brush to darken and blur the background a little more than what it originally was.
|
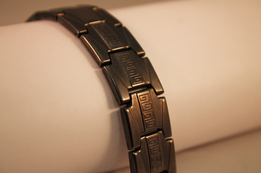
Before
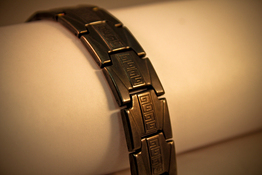
After
|
object from light boxThe edited version of this photograph drastically improves the amount of detail that can be seen on the bracelet. The vignette I added softens the lighting and makes the photo "fade into the border", if you will. I increased the saturation level, the sharpness, and reduced the recovery light level. I also used a brush to slightly soften the edges of the stand it was on, so that viewers would not be distracted by any other factors of the photograph.
|
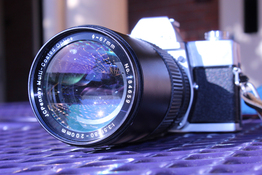
Before
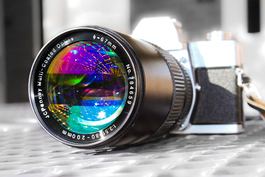
After
|
object outside of light boxThis is a photograph of my personal Minolta SRT-202. I attached a 200mm lens, and made sure it was zoomed all the way out before taking the picture with a Canon DSLR.
When I edited the photo in Camera RAW, I used a brush to blur the background more, and to convert it to grayscale. I then used another brush to add a subtle sepia tone tint to the reflection on the side of the camera lens. I also used a third brush to saturate, brighten, sharpen, and increase exposure. |
Colored Drawing in Photoshop

|
This is another version of my drawing of Stitch, done in Adobe Photoshop. I used the brush to color him in, and then added another layer. In that second layer, I darkened each "original" color, set the hardness to "0", and set the opacity to 75%. I used that set of colors to add some sort of texture to the drawing without having to add a layer mask.
|
Textures & Layer Blending Modes In Photoshop
|
The texture used in this assignment is the back cover of my phone. The layer blending mode used was "Multiply".
|
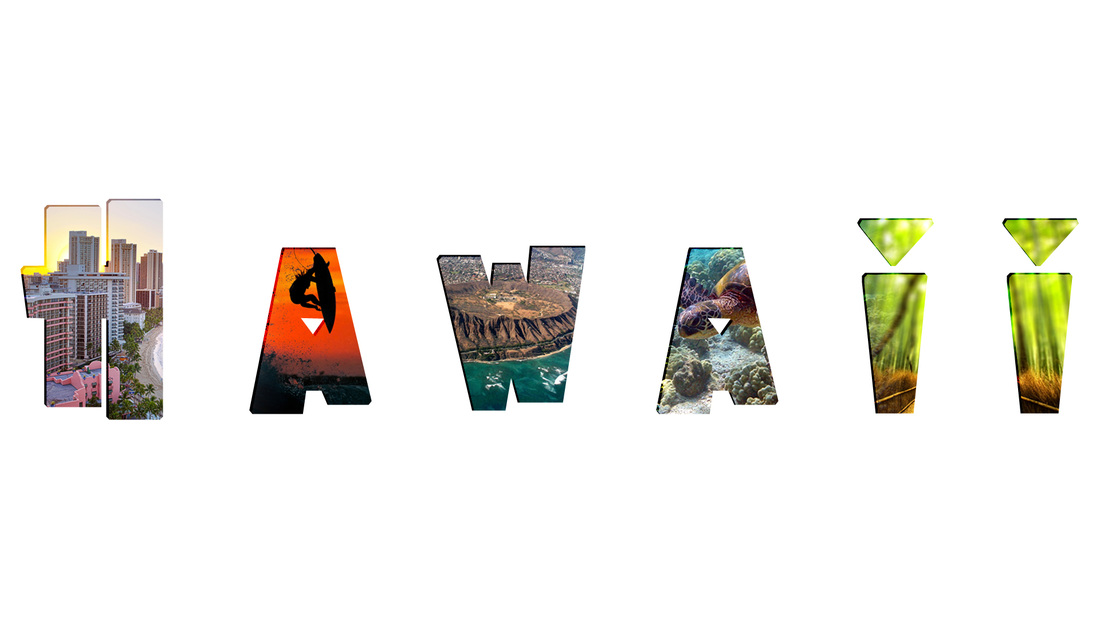
Clipping Mask/Layer Mask 3: Hawaii
|
My work in this assignment greatly improves upon my previous work. I was able to understand all the terms, and do things from memory. I am able to remember settings, and keyboard combinations for shortcuts.
Four of the Hawaiian islands that have been represented in this assignment: -Oahu (The Gathering Place) -Hawaii (The Big Island) -Maui (The Valley Isle) -Kauai (The Garden Isle) |
Exaggerated Scale: Version 1
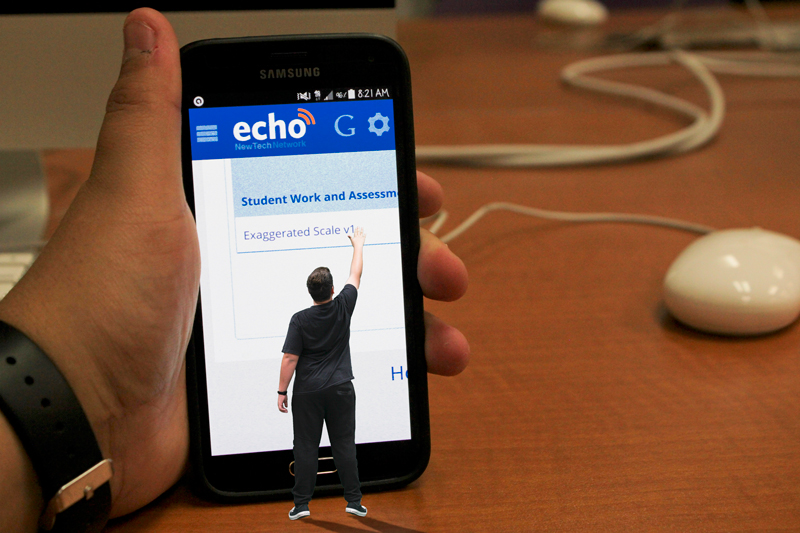
'Why do I feel so tiny?' I thought to myself. 'Why can't I remember anything?. . . The last thing I was doing was taking out the trash.' I yelled out for my mom. When she didn't answer, I jumped out of what I thought was my bed. I yelled, "AH! Oh my God!!" when I fell out and hit a hard surface. I got up, turned around, and saw an oversized tissue box. "What?. . . Where am I?. . .", I said to no one in particular. I looked to my left and the room was full of students who seemed to have grown over 100 times their regular size. I took note of the ginormous computers, the big pencils, and the oversized notebooks. I must have shrunk! I limboed under cords, jumped over half bent paper clips, slithered under backpack slips, and even climbed up table legs. I eventually got to the student who was closest to me and stood in front of their keyboard. They looked down and screamed, "What the heck is this?!" I walked towards their phone and pointed to it. I needed to call someone. The student picked up their phone with trembling hands and slowly held it up for me, wincing with every step I took towards them. I kicked the phone's home button with my foot, and then unlocked it. The first thing on the screen was something called "Exaggerated Scale V1". . . whatever that is.
"Riley. Riley... RILEY!" I woke up to someone shaking me. It was my friend, Grace. "It's time to go to math", she explained. I collected my things and walked out of the class with her.
"Riley. Riley... RILEY!" I woke up to someone shaking me. It was my friend, Grace. "It's time to go to math", she explained. I collected my things and walked out of the class with her.
Exaggerated Scale: Version 2
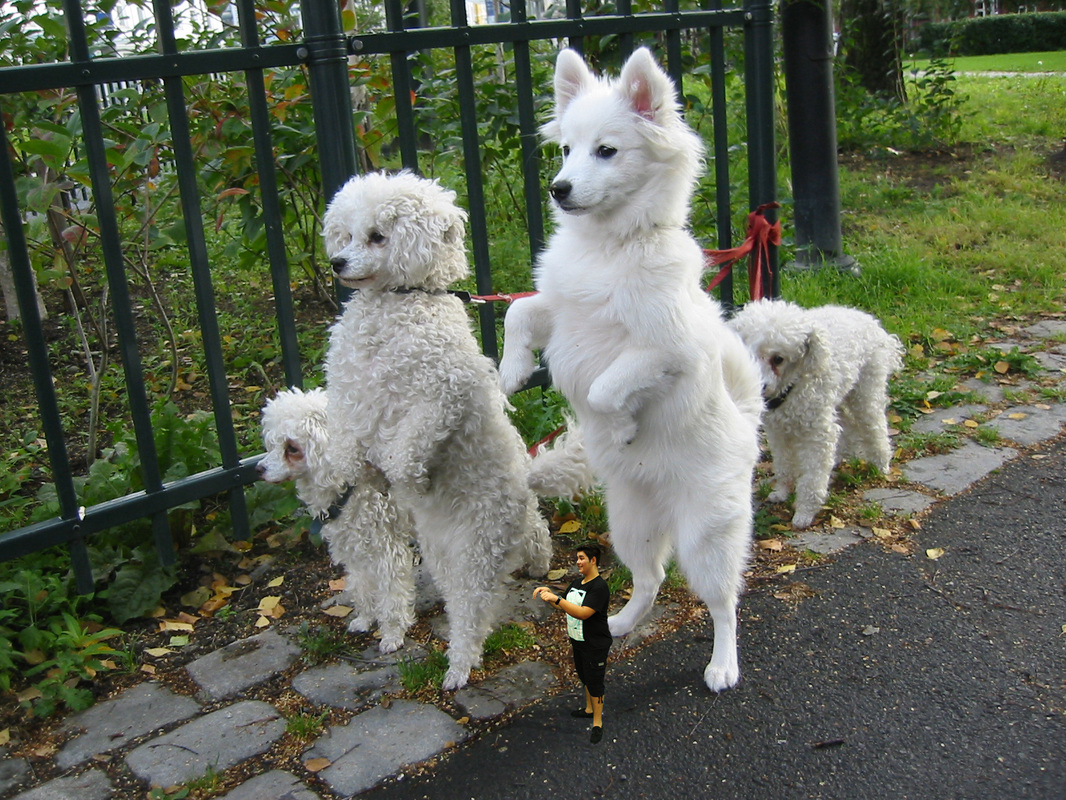
In this photo, I am posing with dogs. The dog has always been my favorite animal. I asked a magical genie if he could shrink me so that I could run with them. He gladly did, and here is a picture to prove it. These four dogs (Bob, Fifi, Fido, and Shanique) and I are posing for a treat from the hot dog man in central park.
Exaggerated Scale: Version 3
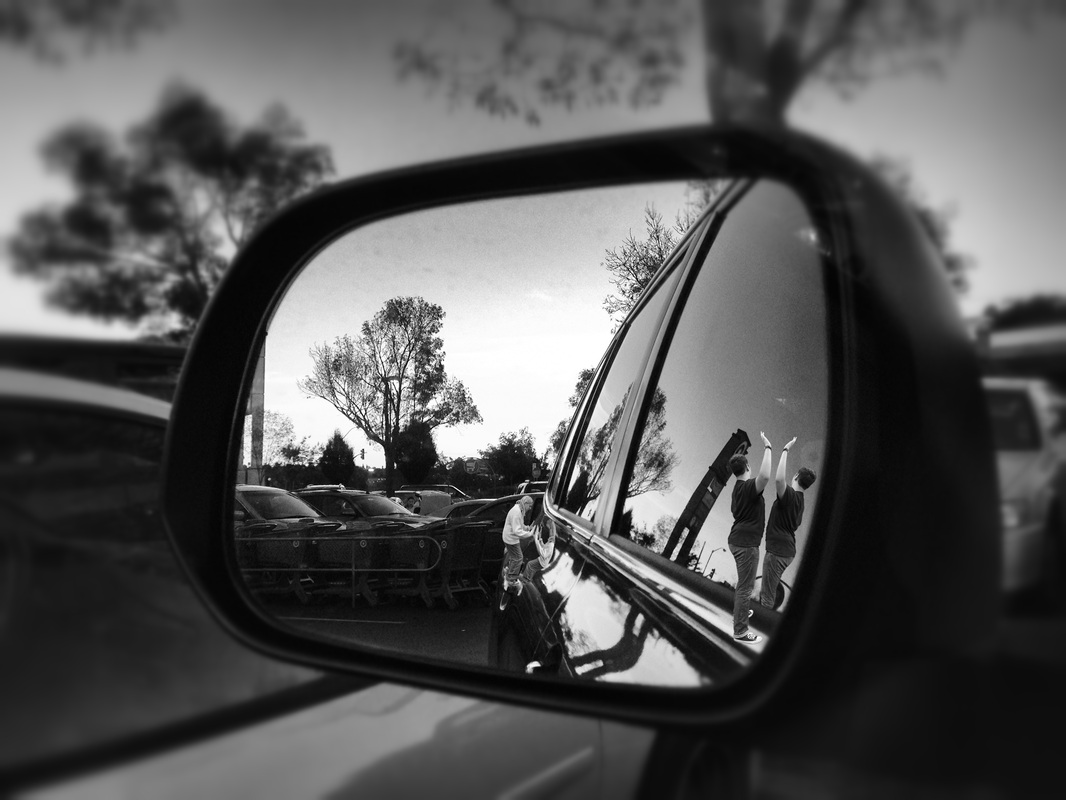
In this picture, I have added reflections both in the window and in the car's body. I also turned both people's colors in the picture (Grace, and myself) into grayscale. I warped, distorted, and changed the perspective of the reflections to make it seem more realistic.
Dear Diary-
Grace and I were in the Target parking lot, doing what we usually do on a Friday evening after school. We shrink ourselves and climb all over cars that are parked. Grace decided she would try and stick her feet in the door handle to see if she could open it, which wasn't a good idea, because there was someone in the car! They took a picture of us in their mirror, and then uploaded it to Facebook. Luckily, I got them to take it down so that only I could see it here, in my diary.
-Riley
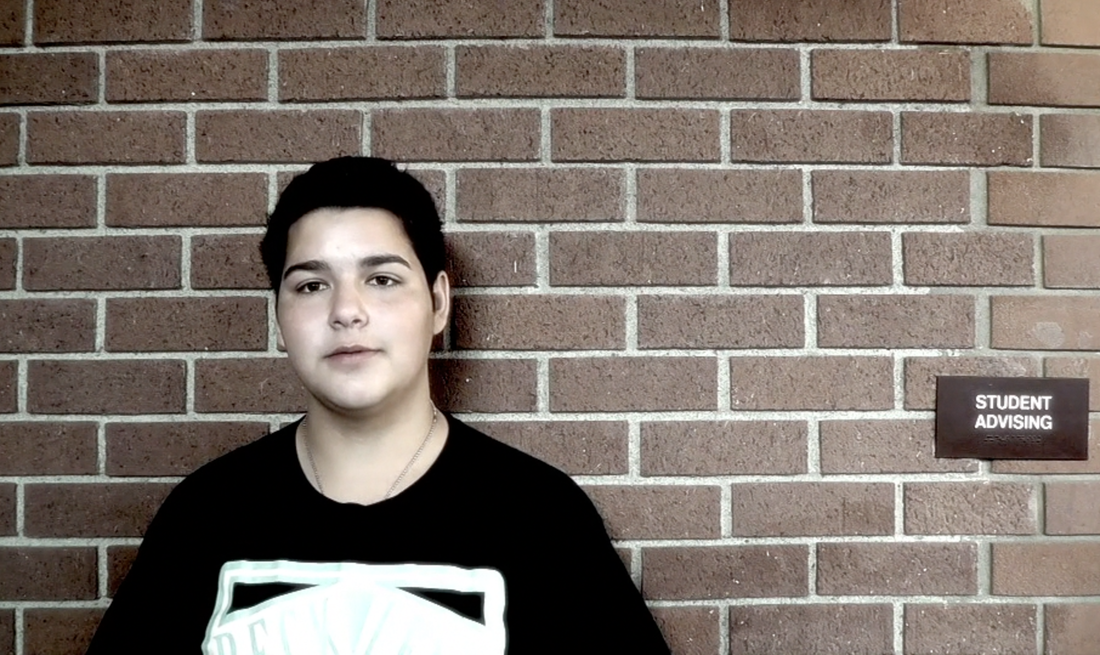
About Me Video

https://drive.google.com/file/d/0B4DO43aBotF2c3FKOVJFMUY3WGs/view?usp=sharing
This project was assigned to my class so that we can tell other who we are. Everything that is in someone's video shapes the person who made it. We were required to be interviewed and to then edit it so we could put in in our videos, with questions like "Where do you see yourself four years from now?" and "What do you want to be when you grow up?" Some objects of the video that we had to include were photos of our favorite things, a green screen scene, a voiceover, and three or more projects that we are proud of from Exploring Tech.
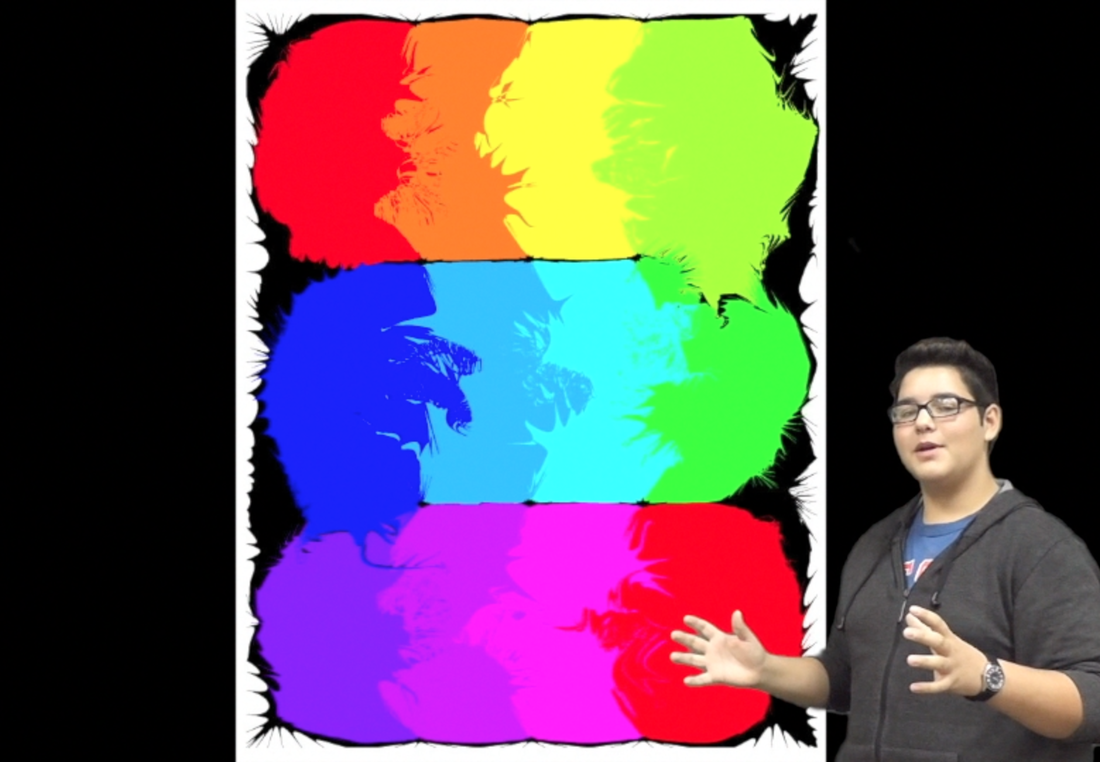
I would like people to notice that I have really paid attention to detail in the making of my video. I timed transitions almost perfectly, I changed the color of my video to an overexposed, faded (kind of apocalyptic) color, and I made sure that music was timed well. I'd also like them to notice that all of the things in my video are what shape me. What is in this video makes me. well, me.
From making this video, I have learned how to make better use of the precision editor and how to use the basics of Final Cut Pro. I also learned how to create a green screen scene.
The Warrior Camel
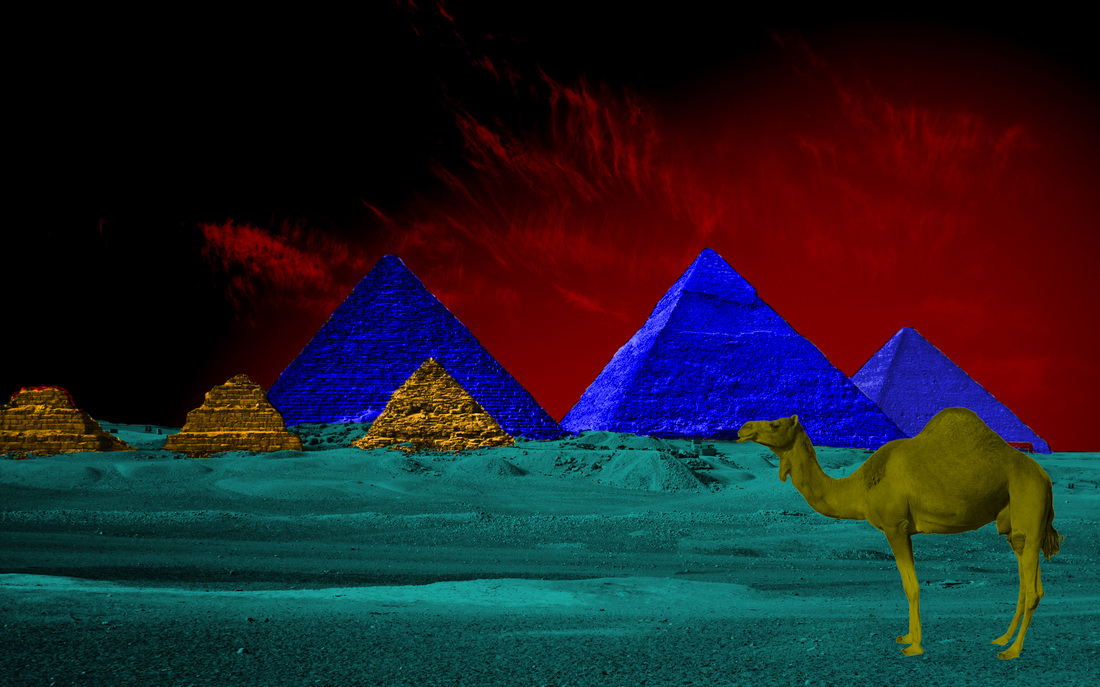
This project was actually the second part of our finals. We were asked to color the background image and the picture of the camel. We had to cut the camel out of the original image it was given to us in and move it to the image of the pyramids. Finally, we had to convincingly place the camel in the scene.
The colors in this image obviously don't compliment each other, but here's why -
The sky is dark red because dark red is associated with vigor, rage, malice, and wrath. The pyramids are royal blue because royal blue is associated with knowledge, power, and seriousness. (Pyramids signify power; kings and queens and emperors). The smaller pyramids are golden because gold is associated with wisdom and wealth, and usually symbolizes high quality. The sand is aqua because aqua is associated with emotional protection. The camel is olive green because that color often means peace. The camel is a warrior that only wants peace among the land, but the kings and queens and emperors won't let him have any. So, the camel roams around all day and all night, longing for a world filled with peace.
